Create a beautiful handmade tote bag with this DIY patchwork tote bag tutorial! Gather your fabric scraps, cotton batting, lining fabric, embroidery thread, and basic sewing supplies to get started. With the added thickness from the batting, you can skip the embroidery hoop and use a fabric marking pencil to guide your stitching. Once your quilting and embroidery are complete, cut out the pattern pieces for the tote bag. This small but totally functional tote features a cute piping detail and an easy button closure. With a finished size of about 10.6 inches square (without handles), it’s perfect for carrying essentials like a book and your phone. Enjoy this fun and relaxing project that’s sure to be satisfying from start to finish!
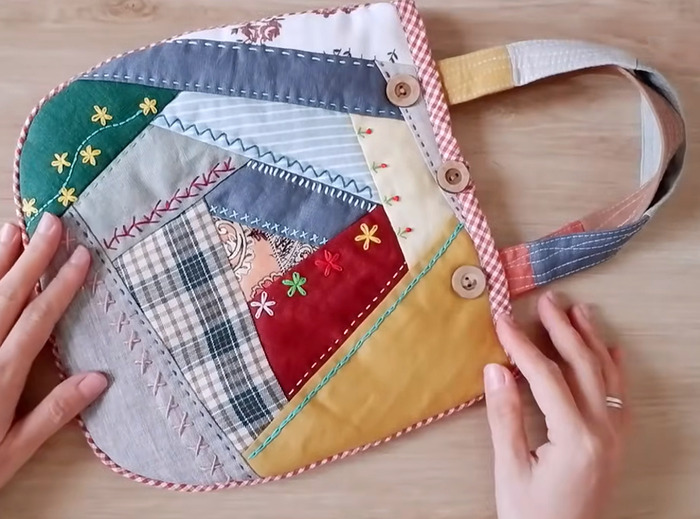
DIY patchwork tote bag tutorial
Category
Tags
By