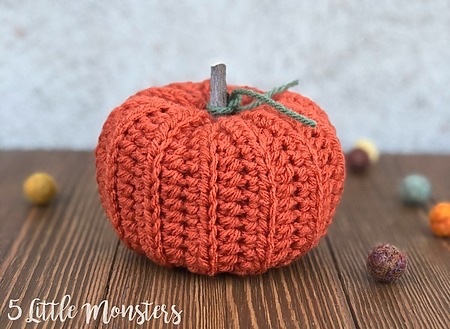
Bring handmade vibes to your fall decor with this ribbed crochet pumpkin pattern from 5 Little Monsters. This easy tutorial walks you through each step of creating a pumpkin from a simple crochet rectangle. Using half double crochet stitches worked in the back loop only, you’ll get that classic ribbed texture that makes these pumpkins look extra cozy and realistic. Once your rectangle is complete, you’ll sew the sides together, cinch the top and bottom, stuff it with fiberfill, and finish it off with a cute little stem.
The best part? You can easily customize the size by changing your starting chain and number of rows. This way, you can make a whole pumpkin patch in different shapes and sizes! At about 3″ tall and 4.5″ wide, the finished pumpkin is the perfect size for tabletops, mantels, or shelves. A quick, beginner-friendly project you’ll love!
More crafting fun! DIY pumpkin luminaria tutorial. Learn how to make adorable felt pumpkins.