This embroidered hair bow is so, so pretty! With a little bit of creativity and patience, you too can have a stylish and eye-catching hair accessory. This tutorial from LB Embroidery is a fun way to add a personal touch to your hair bows. First, draw two fabric rectangles on a solid color fabric. Next, use an embroidery hoop to embroider your design onto the fabric. Then, sew the fabric pieces together to create the bow. You can decorate the bow with any hand embroidery design you like, making it a fun and customizable project. Follow this hair bow tutorial to ensure you get the perfect shape and size for your bow.
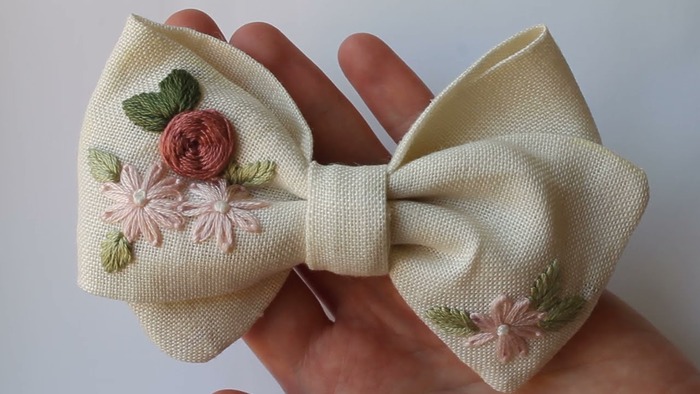
How to make embroidered hair bow
Category
Tags
By